
Some days this mama just does not have the strength for a messy art project. Which is why I’m so glad I found this idea for mess-free marble painting from Sunny Day Family!
The inspiration for this particular art project was my dad’s birthday. I wanted to make him a handmade card from myself and the boys. Once I decided on this marble jar idea, I got started by mixing up some shades of blue and green. Instead of keeping a bunch of paint colors on hand, I just keep the primary colors, plus white. That way I get to mix up new shades every time we paint!

I let Calvin plop the marbles into the paint cups and swirl them around a bit. Meanwhile, I cut a piece of paper to fit inside a big Ball jar. I slid the paper into the jar so that it hugged the inside of the glass, and then Calvin dropped the marbles in one at a time: kuplink, kuplank, kuplunk!

Then it was time to cover the jar and shake! shake! shake!


Here’s where this art project was PERFECT for my little “Super Duper” Henry! He loves to shake things that rattle, and this marble jar made a very satisfying – and loud – noise!
Once it was all shook up, we took the paper out to see our masterpiece.
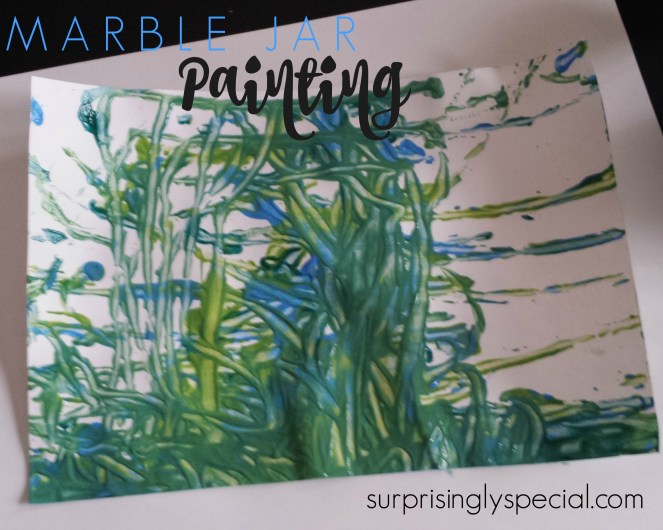
Pretty cool! I love how marble art turns out all splattery and with the colors blended. When we do art where the colors are going to get all mixed together, I usually try to create shades that I think will blend well. Specifically, I often use only two of the three primary colors to avoid things getting all brown. So here, I skipped red altogether and stuck with shades of blue and green.
The marble painting was neat-looking on its own, but I wanted to transform it into a birthday card with a little bit more of a grown-up feel. So our process art project continued once the marble painting was dry.

I did the next steps on my own, so the finished card was a kid/mom collaboration 😉
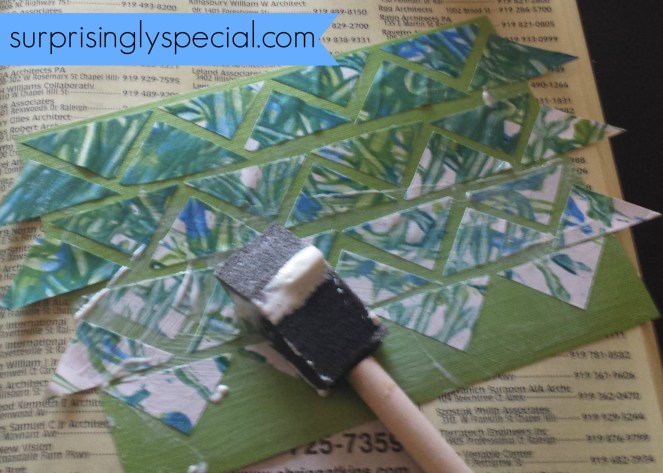
I used a paper cutter to slice our marbled painting into strips. then I cut the strips into triangles with scissors. I chose a piece of green cardstock as my base and glued the marbled triangles in a geometric pattern to finish up Grandpa’s birthday card.
Yes, that is a phone book under there. It’s a trick I learned from an art teacher in college. Use an old phone book under your gluing project and when the page gets too glue-y, just turn the page!
When this was dry, I trimmed the triangles on the edges and wrote my dad a birthday message on the flip side. I’m sorry to say I don’t have a photo of the finished product, and I’m also sorry that this one is blurry… but maybe it’s for the best since there’s a phone book page in the background!
Collage art is my favorite kind of craft to do myself, so I really liked this project. And I definitely recommend the jar trick for mess-free painting!
Any other minimum-mess painting ideas you’d like to share?
If you’re a parent to a kid with delayed motor skills, like Henry, how do you make art projects accessible?

Ooh, I like! Sadly, we wouldn’t be able to do this project…marbles + Hannah = not a good combination. Still, you’ve given me ideas with the triangle collage. Thanks for sharing…and Happy Birthday to Grandpa!
LikeLike
Yeah, I have to keep the marbles away from Henry too. He really just did the shaking part 🙂
LikeLiked by 1 person
I bet they had so much fun shaking the jar!
Thank you for linking up to #ToddlerFunFriday
LikeLiked by 1 person